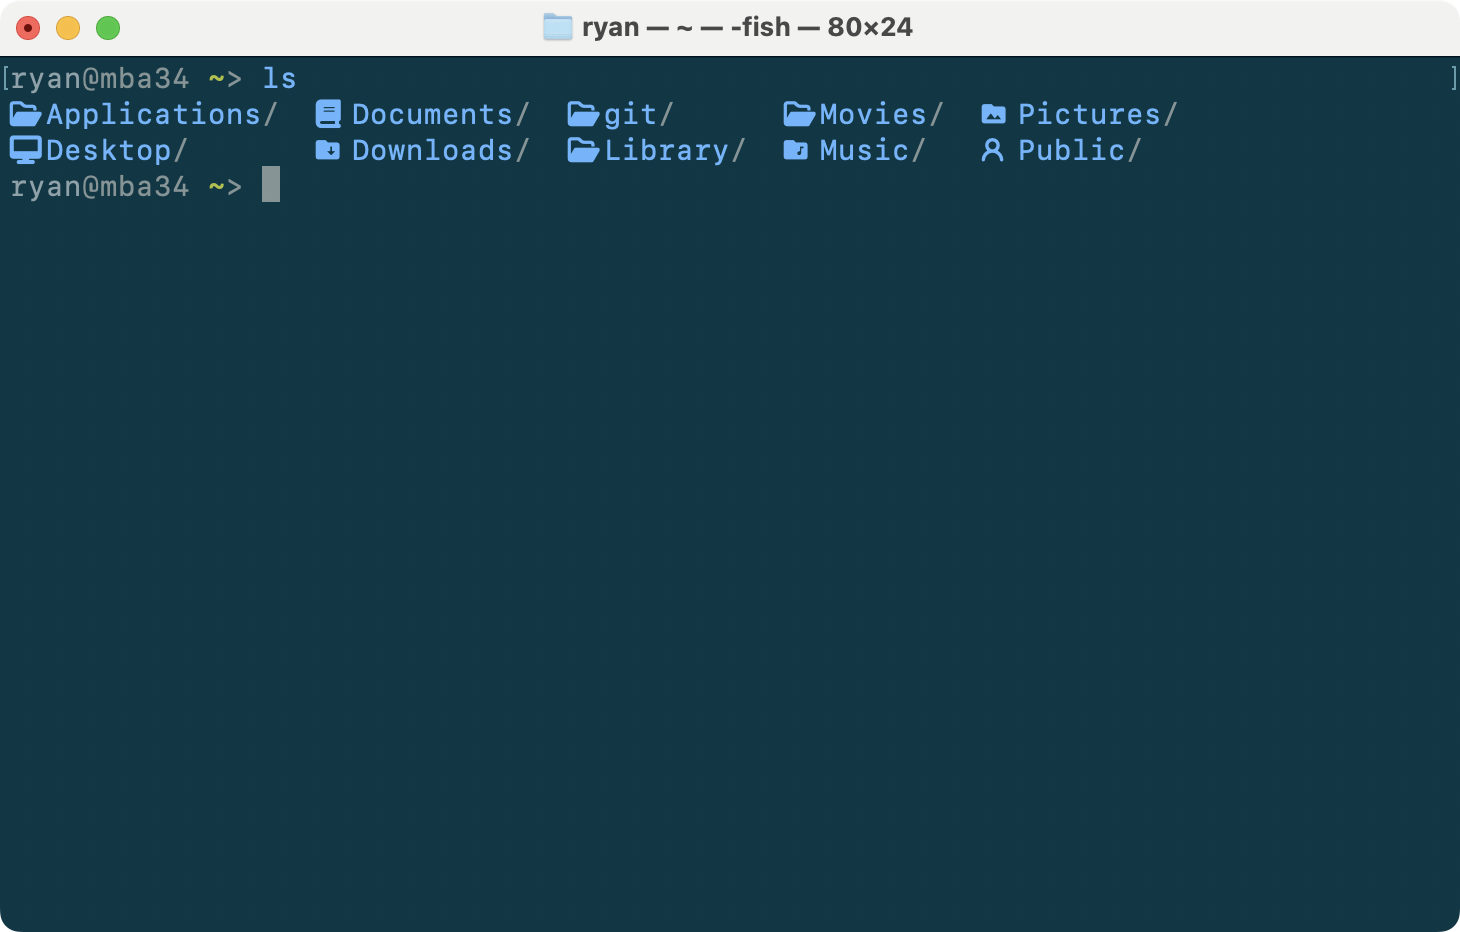
If you love the look of Apple’s SF Mono font but want the power of Nerd Fonts for coding, this guide will walk you through patching SF Mono with Nerd Font symbols on macOS. It’s also worth noting that while this guide uses SF Mono as an example, these steps work with most other fonts.
Patching the font yourself ensures you stay within legal boundaries while maintaining control over what you’re installing. Apple’s SF Mono font is proprietary, and its licensing explicitly prohibits redistribution, meaning any version you find on someone’s GitHub violates those terms. Beyond the legal risks, downloading pre-patched fonts from unverified sources exposes you to potential security threats, as you can’t be certain of what else might be embedded in the files. By patching the font yourself, you not only respect the licensing terms but also guarantee that the font is free from tampering or hidden modifications.
Step 1: Download and Install SF Mono
Apple provides the SF Mono font for developers. You can download it legally from Apple’s official site:
After downloading, install the font on your macOS system. To do this, double-click each .otf file and click Install Font in the macOS Font Book app. Installing the font for your user only is recommended; this ensures the font files are stored in ~/Library/Fonts, making them easy to locate for patching in later steps.
Step 2: Install webi
webi is is a great tool for managing software installation with minimal system interference. Install it with:
curl -sS https://webi.sh | sh
Step 3: Install Homebrew with webi
I prefer using webi to install Homebrew because it keeps Homebrew isolated in ~/.local/opt/, avoiding potential conflicts with system directories. There are supposedly cases where using a non-standard directory for Homebrew causes problems (according to brew doctor), but I have yet to experience that.
webi brew
Step 4: Install FontForge
FontForge is the tool we’ll use to patch the fonts. Install it using Homebrew:
brew install fontforge
Step 5: Download Nerd Font Patcher
Clone the Nerd Fonts repository, which contains the font patcher script:
git clone https://github.com/ryanoasis/nerd-fonts.git
cd nerd-fonts
Step 6: Patch the Fonts
To patch all the .otf files in the SF Mono directory, create and run the following script. Save it as patch-sf-mono.sh:
#!/bin/sh

for font in ~/Library/Fonts/SF-Mono*.otf
do
    fontforge --script ./font-patcher --complete "$font"
done
Run the script:
chmod +x patch-sf-mono.sh
./patch-sf-mono.sh
This will patch all SF Mono fonts in the ~/Library/Fonts/ directory. The resulting patched NerdFont files will be located in the current directory.
Step 7: Install the Patched Fonts
After running the patcher, the new patched font files will be created in your current directory. To install them, copy the patched font files to the macOS Font Book directory for your user:
cp SFMonoNerdFont* ~/Library/Fonts/
This will make the patched fonts available to applications on your system. Once copied, you can verify the installation by opening the Font Book app and checking for the new Nerd Font versions of SF Mono.
Final Thoughts
You now have the patched SF Mono font installed on your macOS, combining Apple’s beautiful typeface with the power of Nerd Fonts for coding. Enjoy a cleaner and more functional terminal and text editor experience. Consider using webi to install lsd, and take a look at the cheat sheet for common aliases.
If you have any questions or run into issues, feel free to leave a comment below.